
Now is time to have some fun and do some actual work. I personally started with immich as Google Photos alternative for a couple of reasons:
- I was tired of transferring photos from my phone to my computer, but i did not want to pay for iCloud / Google Photos subscription, as although very convenient, i would have needed to upgrade every couple of years to bigger and bigger tier, and after 40 years i would most probably need terabytes.
- I wanted an automatic backup feature to keep my photos if my phone breaks and at least sync automatically ,while i am at home, so i needed to have an app for Android and iOS device that can do that
- immich has great documentation and easy to follow installation steps
I keep all my docker configurations and data in /opt, so lets prepare the folder structure. Open a Terminal and copy the instructions
#Navigate/opt
cd /opt
#create folder docker and navigate to it /opt/docker
sudo mkdir docker
cd docker
#create folder for immich and navigate to it /opt/docker/immich
sudo mkdir immich
cd immich
#download official sample of docker-compose and .env file
sudo wget -O docker-compose.yml https://github.com/immich-app/immich/releases/latest/download/docker-compose.yml
sudo wget -O .env https://github.com/immich-app/immich/releases/latest/download/example.env
After the folders are created and the sample .env and docker-compose.yml files are downloaded, the file structure should look like this. /opt/docker/immich
├── docker-compose.yml
├── .env
Type ls -a to confirm you see them. .env is a hidden file, as it starts with dot, so make sure you use ls -a to see it.
Now one final step that executes all the configurations and install the application as docker container
cd /opt/docker/immich
sudo docker compose up -d
After the download of the docker image completes and the docker application is running, there will be an initial delay of a couple of minutes for the web interface to appear. You can use the command netstat -ltn to check if the port 2283 is listening for connections on the server.
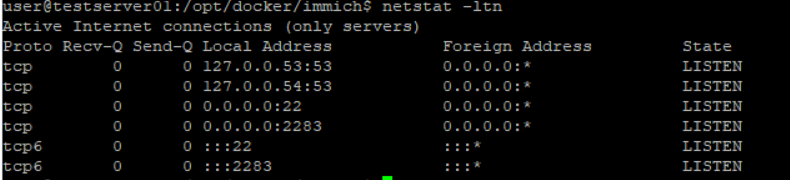
Once you see it, you can test to open it in a web browser at: http://localhost:2283 from the same computer, or using http://<machine-ip-address>:2283 (use command ip address to see your machine IP) from the same or any other computer at your home. If you are using a VM to test, make sure the network is not NAT, but bridged, so that it gets the IP from the same network as your home devices.
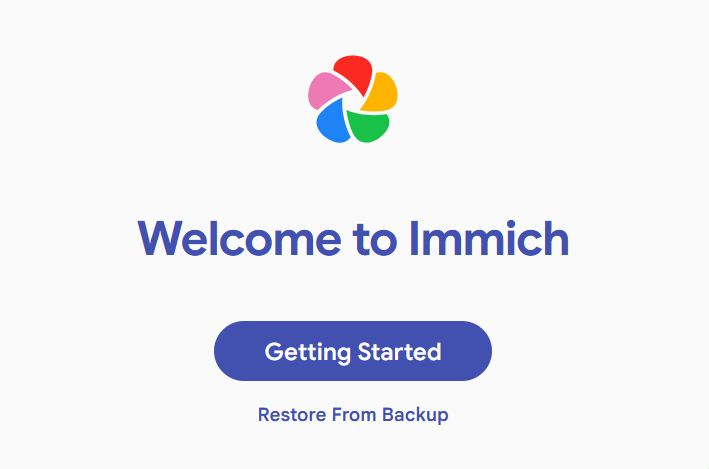
If you see the immich logo click on Getting Started and fill the Admin registration form, you have successfully installed it. Good job!
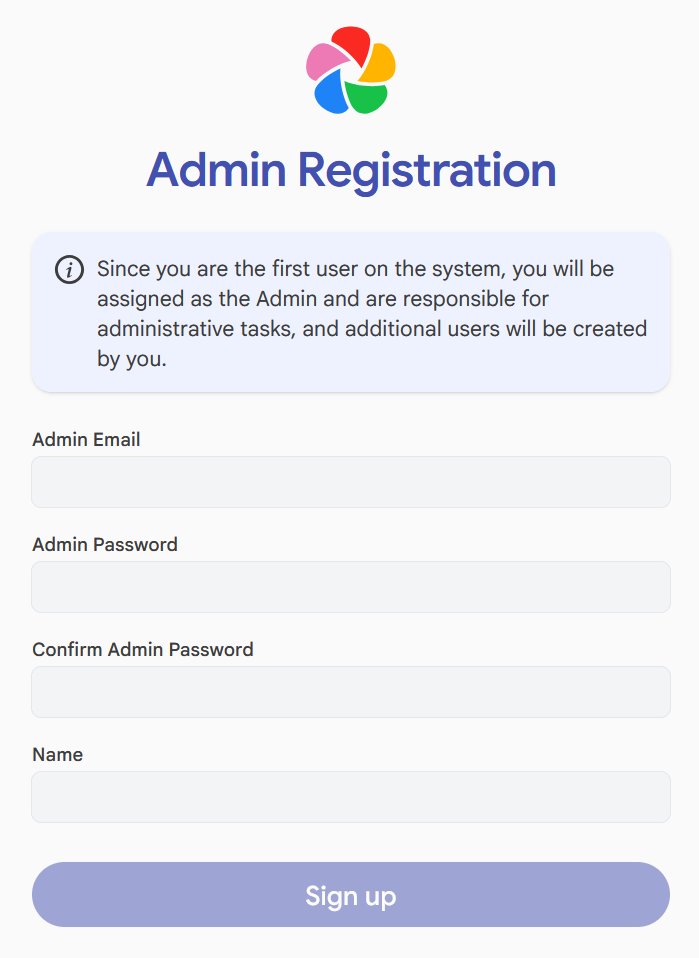
You can start uploading photos directly in the Web UI, which is great to test is out with a couple of photos. Keep in mind that initial immich upload is a heavy operation, as every photo is analyzed with machine learning engine, which will allow you to search the photo with natural language – for example typing sea in the search, should show you photos that have big body of water or sand.
If we check again the files via the terminal we will have two new folders, so the new structure will look like this:
immich/
├── docker-compose.yml
├── .env
├── library – where photos and videos are stored on upload, thumbnails, backups
└── postgres – database of the app
There are also a couple of options for bulk import like loading your own external photo library (external for the immich app, but local on the Ubuntu server) with your existng photos.The other option is from the mobile application in your phone to sync all photos, or selected albums.
Bear in mind that if you import a lot of photos initially, that might take quite some time for the machine learning to process, depending on the server hardware (could take a whole day or more, depending on the volume of photos), so i suggest to start with not more than a couple of hundred photos or only the new photos to get a feel of the tool, before committing to upload all your photos.
We will review those options in details in the next article for How to use immich, where we will dive more into how to actually make use of it.


Pingback: Self-hosted lab journey guide – Ilia Dimitrov's Blog