After the installation we have to configure our application and to learn how to use Jellyfin. My suggestion is to start using it for a couple of movies only, until you get more familiar with the setup. After that you can upload all of them to the folders specified in the movie libraries that we are going to create.
Initial setup
Open Jellyfin in a web browser at: http://localhost:8096 from the same computer/server, or using http://<machine-ip-address>:8096 (use command ip address to see your machine IP) from the same or any other computer at your home. If you are using a VM to test, make sure the network is not NAT, but bridged, so that it gets the IP from the same network as your home devices.
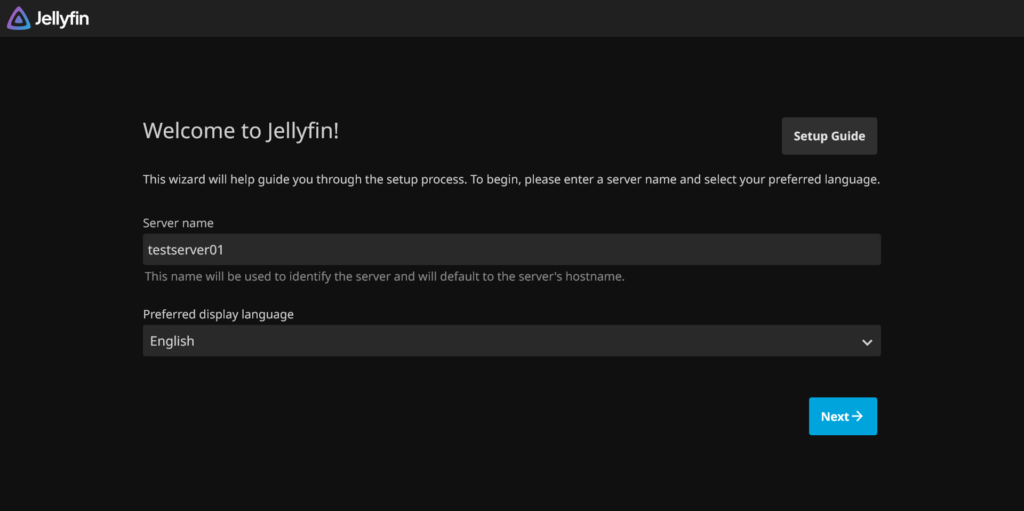
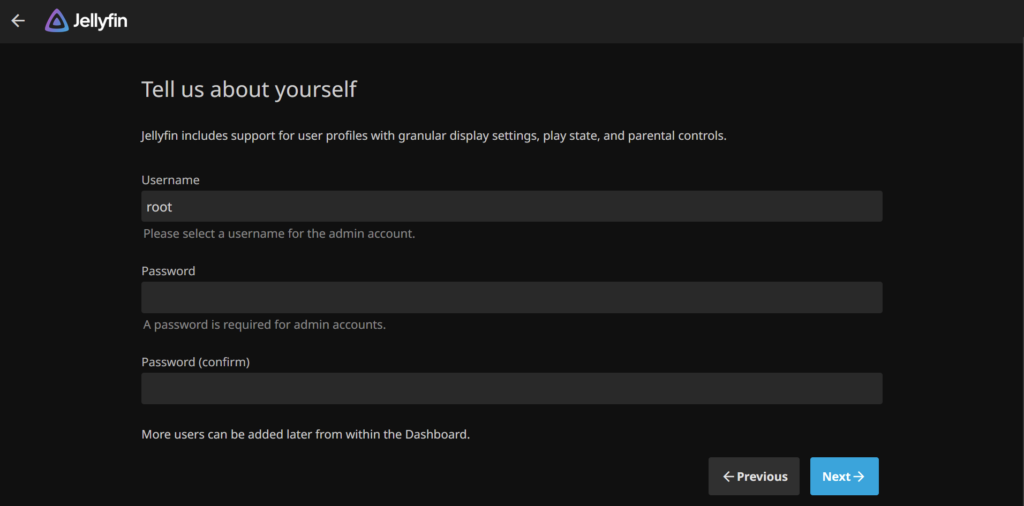
Now Enter the server name that you want, select the language, click on Next and create the Admin user
Now we need to setup your first library. This is where your movies will be located. I suggest to create separate libraries for Movies and Series/Shows. We have to create separate folders in our /opt/docker/jellyfin/media folder. Let’s go back to the terminal and create them.
cd /opt/docker/jellyfin/media
sudo mkdir Movies Shows
ls #to confirm they are there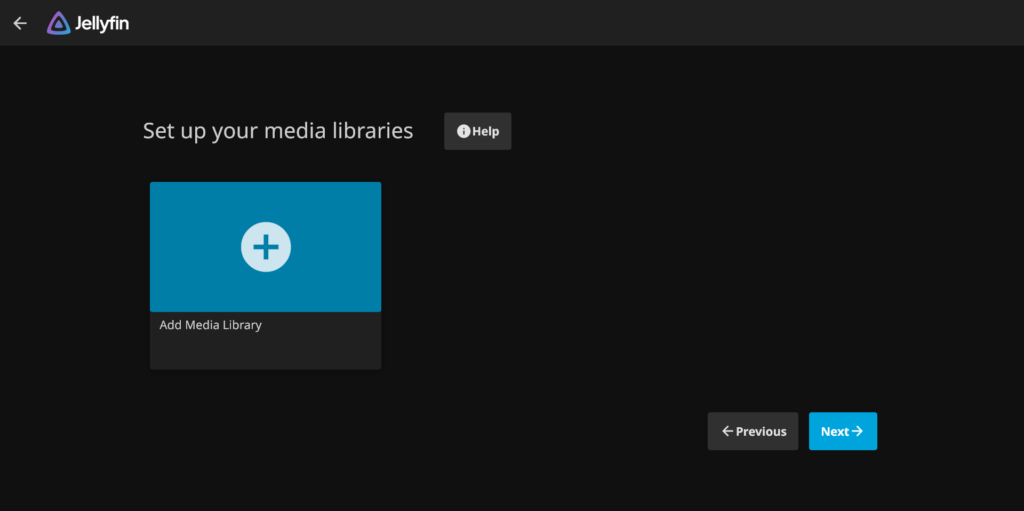
Now lets create the two libraries for Movies and Shows. Click on Add Media Library. We only need to specify the type of content, name and folder location
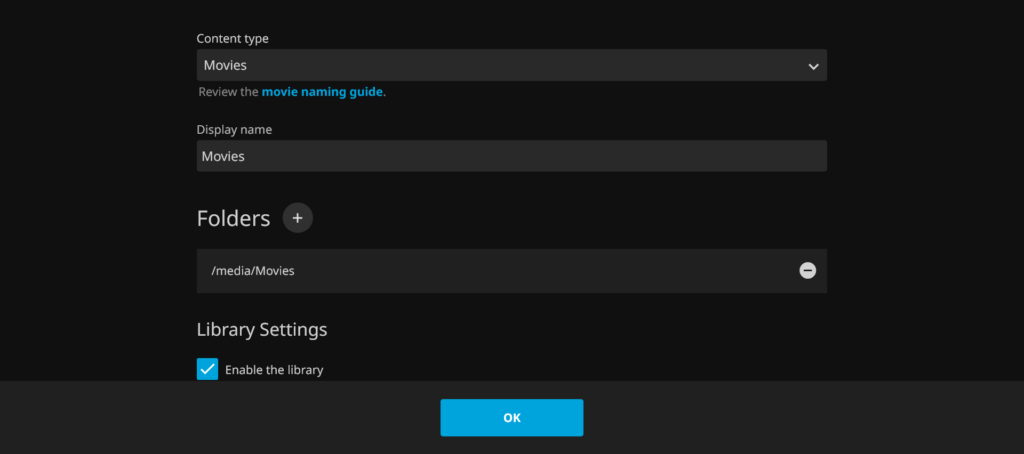
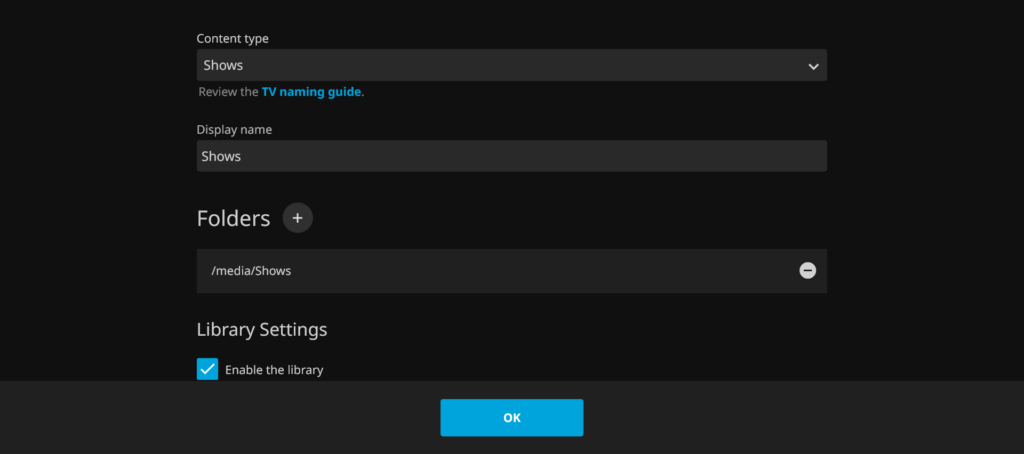
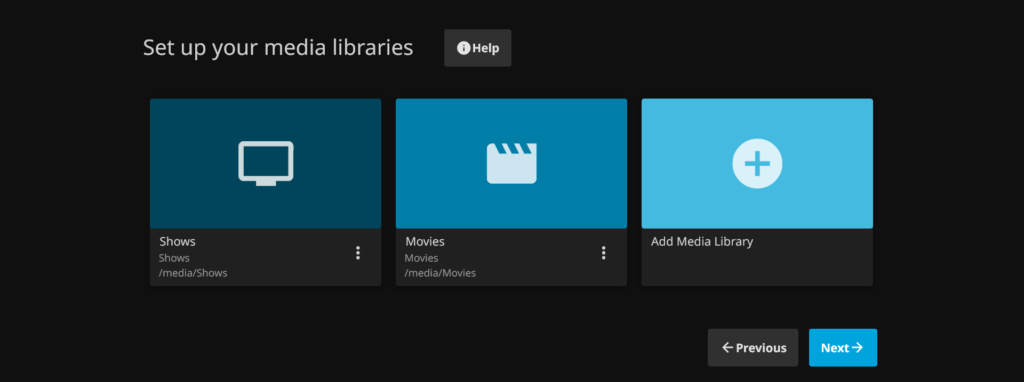
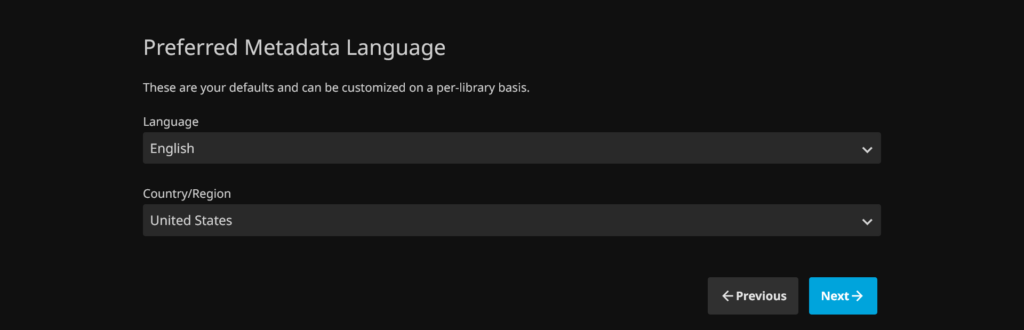
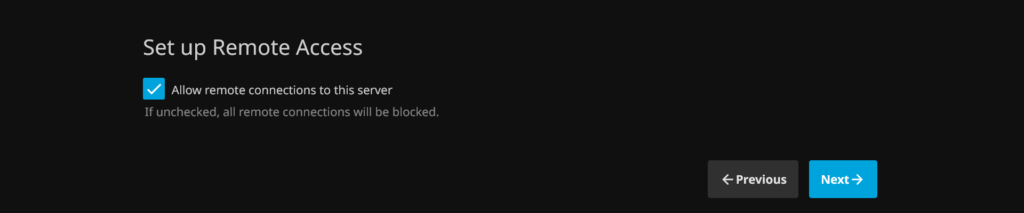
After the media libraries are created, we can continue with selecting preferred metadata language and remote access. Defaults are fine, so nothing to change there.
First login and basic usage
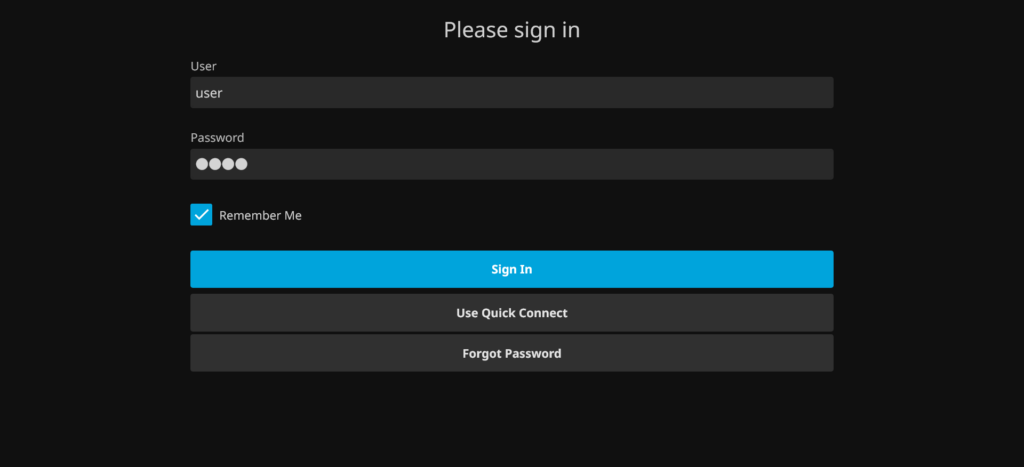
When you finish the setup wizard, you are presented with the login screen. Enter the credentials you created during the previous step
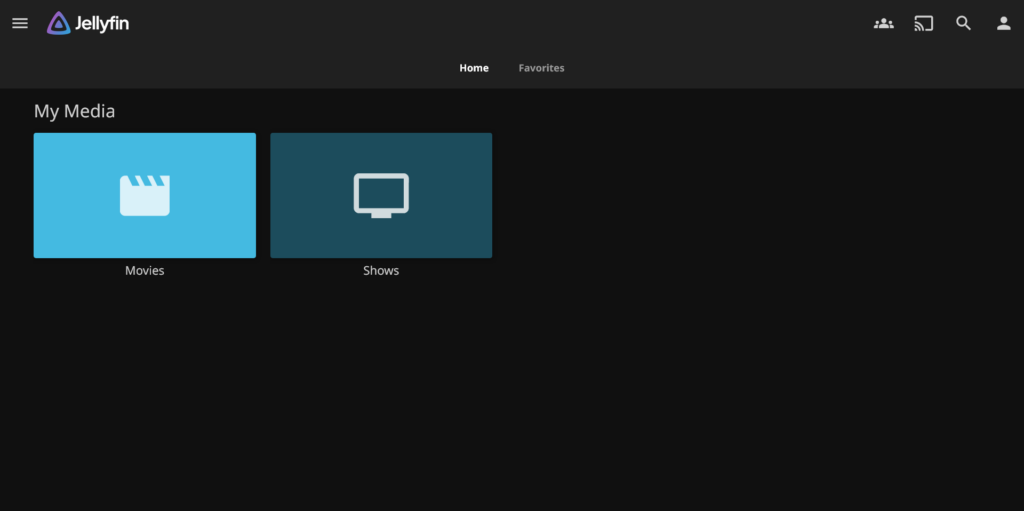
This is the main interface of Jellyfin and we can see the two libraries we created during the setup wizard. Movies and Shows will automatically get a thumbnail from added media and rotate them from time to time.
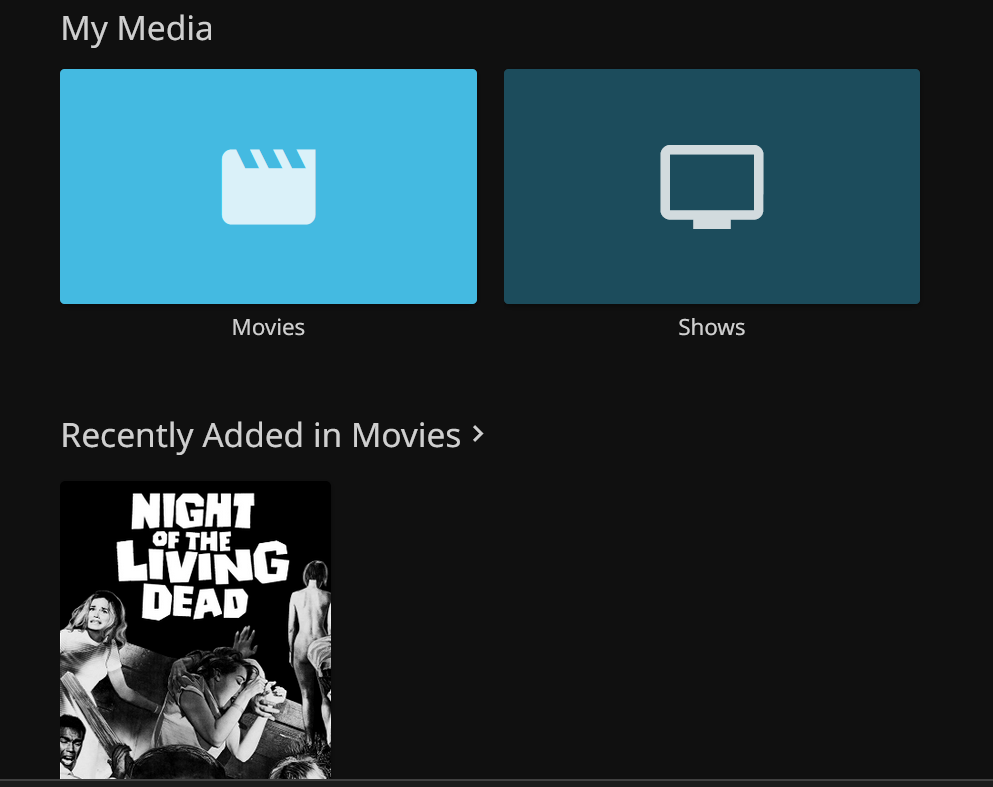
Now lets add our first Movie. You need to copy it on the ubuntu server in the folder /opt/docker/jellyfin/media/Movies. If you want Jellyfin to automatically fetch metadata like Actors, Genre, Art and other, it is very important to help Jellyfin properly identify the movie. This depends on consistent file naming in your media library. Follow these patterns:
Movies/
  The Matrix (1999)/ #The folder is the most important part for movie identification
    The Matrix (1999).mkv #How the movie file is called is not that important
    The Matrix (1999).eng.srt #Jellyfin accepts both 2-letter or 3-letter language codes

TV Shows/
  The Office (2005)/ #The folder is important part for Shows identification
    Season 01/ #The Season folder is important part for Shows identification
      The Office S01E01.mkv #Here the important part is S01E01
      The Office S01E01.eng.srt #Jellyfin accepts both 2-letter or 3-letter language codes
The year in parentheses and the SxxExx season/episode format let Jellyfin match titles accurately.
You can copy the movie file from a USB drive or using scp (which can copy files over SSH connection). This is how the folder structure should look like for the movie Night of the Living Dead, which external subtitles as well
/opt/docker/jellyfin/media/Movies/
└── Night of the Living Dead (1968)
├── Night of the Living Dead (1968).eng.srt
└── Night of the Living Dead (1968).mp4
You will see it appear in the Jellyfin web ui in a couple of minutes, as it will try to download also the metadata and images.
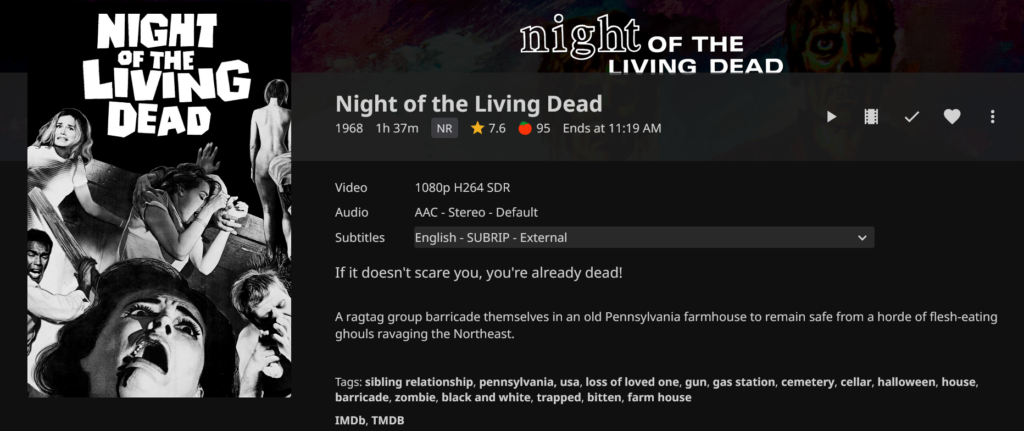
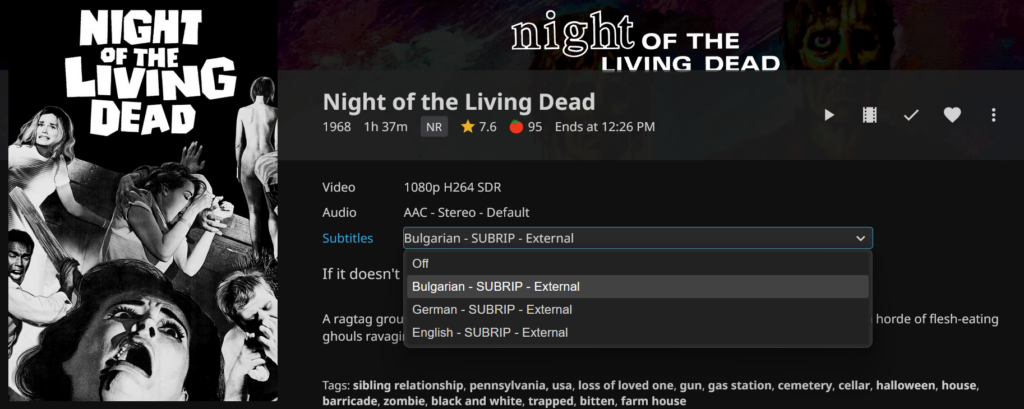
If you click on it, you should see also the subtitles we added, description and cast, which Jellyfin found because of the proper naming of files and folders
If you do not see the movie you uploaded after waiting some time, perform a manual re-scan
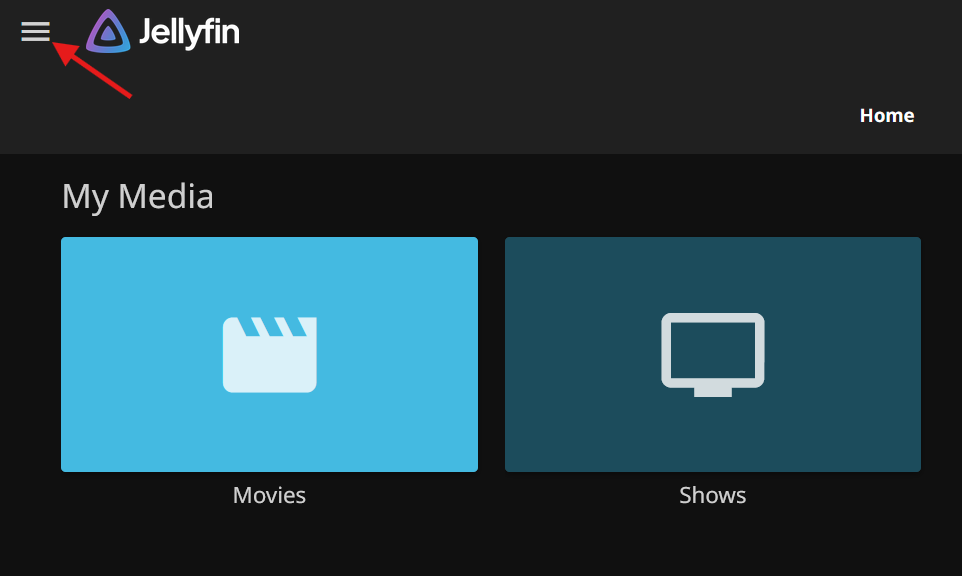
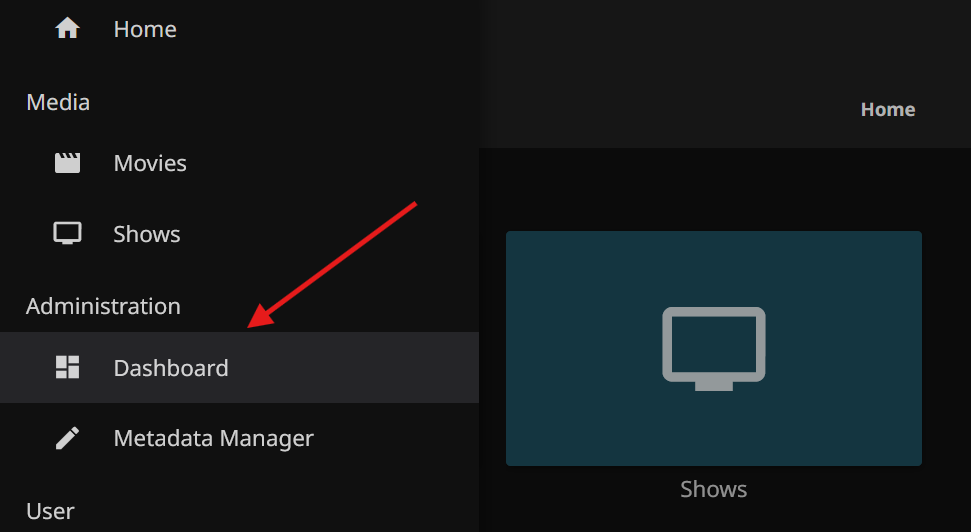
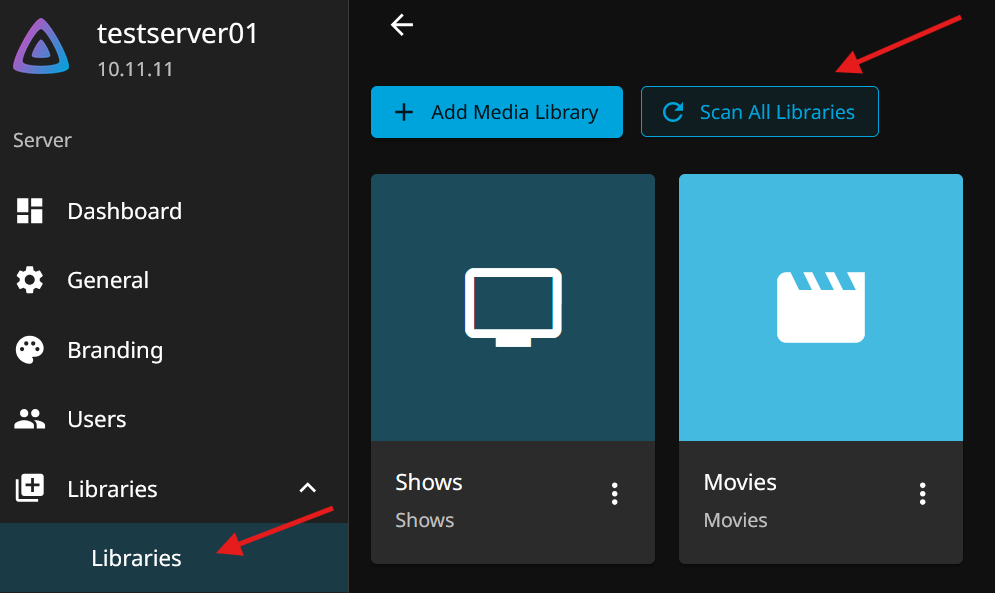
Congratulations! You have uploaded your first Movie. The process is the same for all other. You can now Play it on all your devices at home via a browser or a dedicated Jellyfin App from the Apple App Store or Google Play Store
Automatic search for subtitles
While you could always add subtitles manually to the movie folder with proper naming, it is also possible to search for them automatically, with a plugin called Open Subtitles. You will need to create a free account here and it has limit of 20 subtitles downloaded per day.
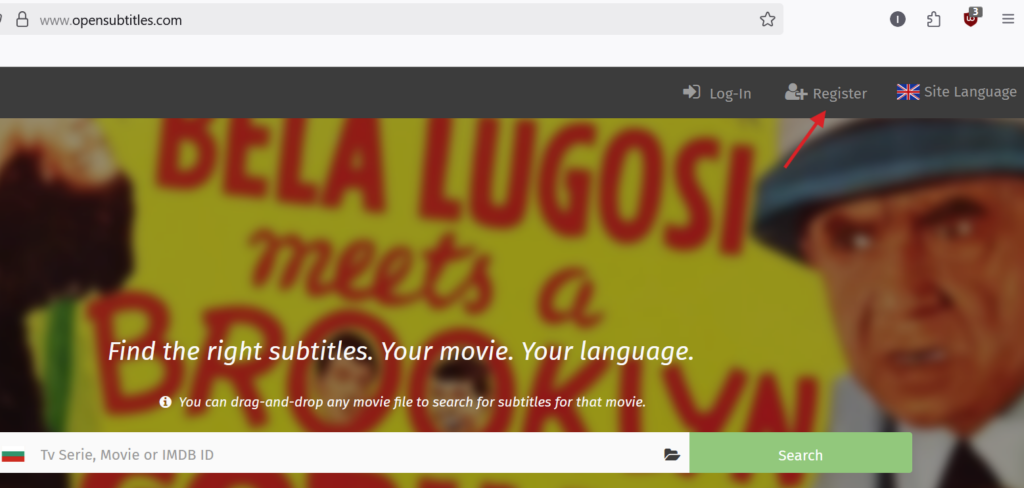
Now we need to add the plugin in Jellyfin from the Administration Dashboard
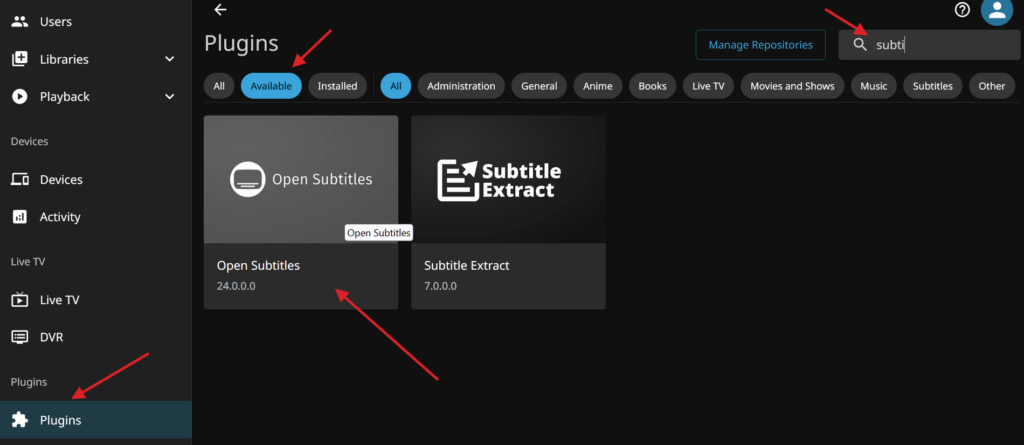
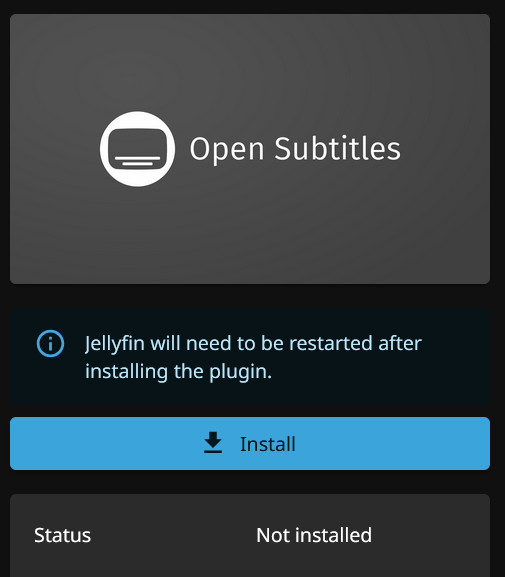
Install the plugin and restart Jellyfin for changes to take effect.
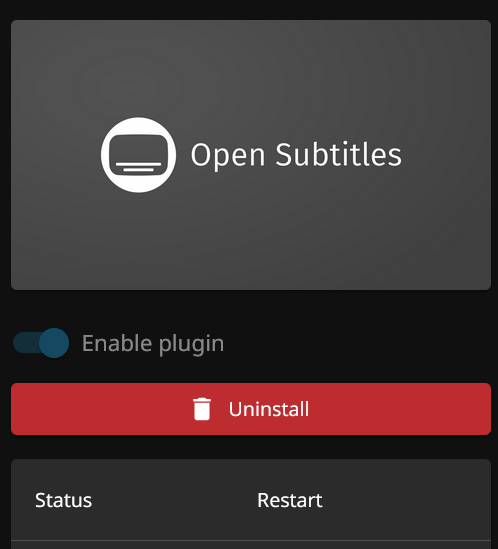
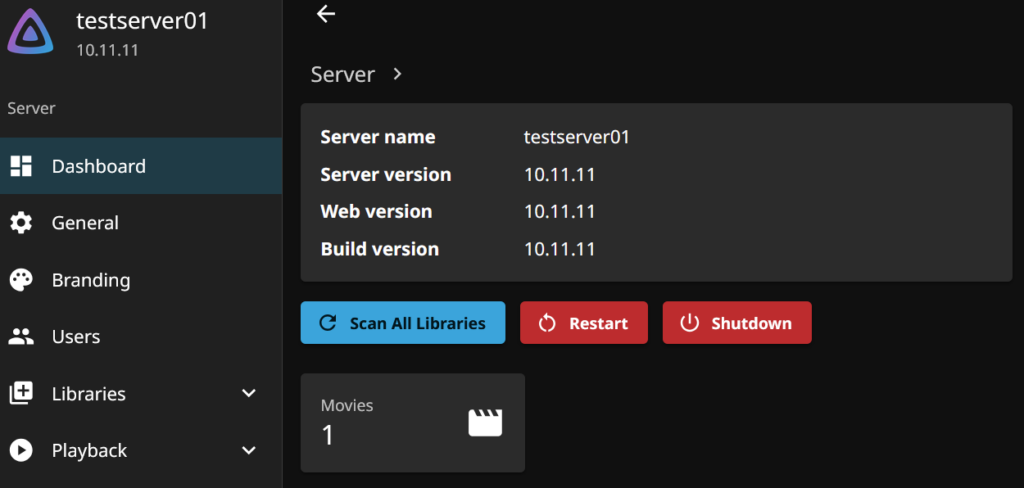
You can easily restart the service and perform scans for new files from the main Dashboard menu. Click on the Restart and wait a couple of minutes.
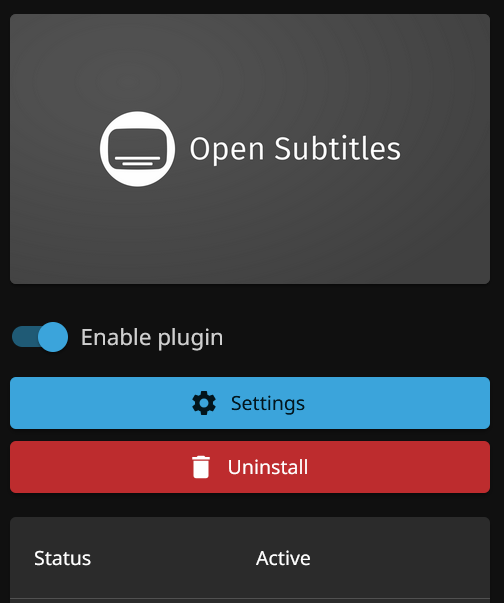
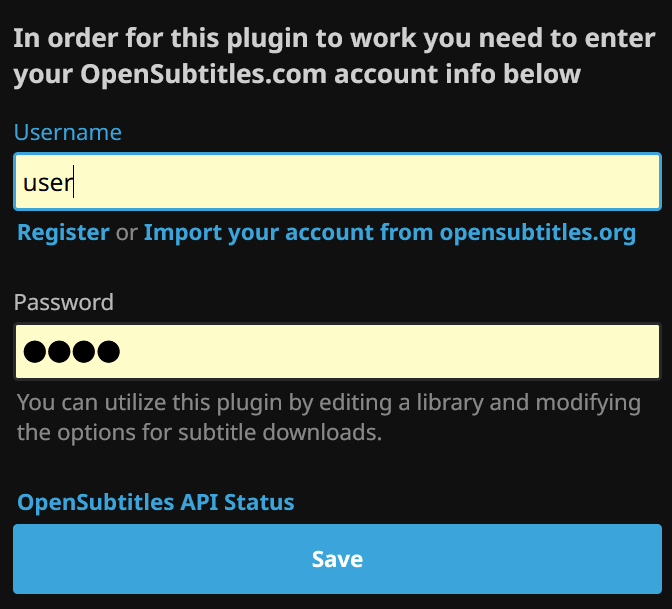
Go back to the Plugins and select Open Subtitles. You will now have a Settings button. Click it and enter the credentials for opensubtitles that we created on their site
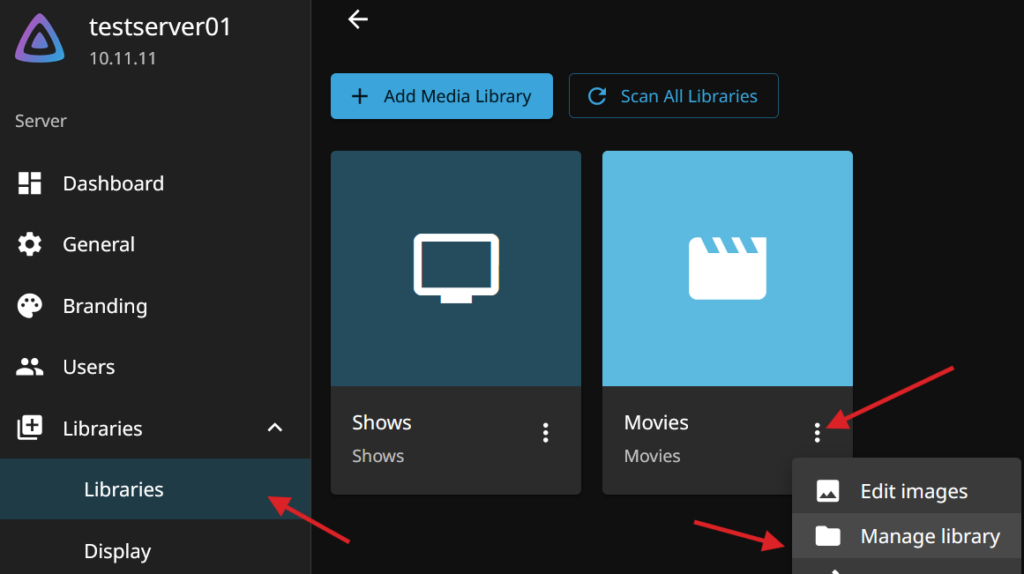
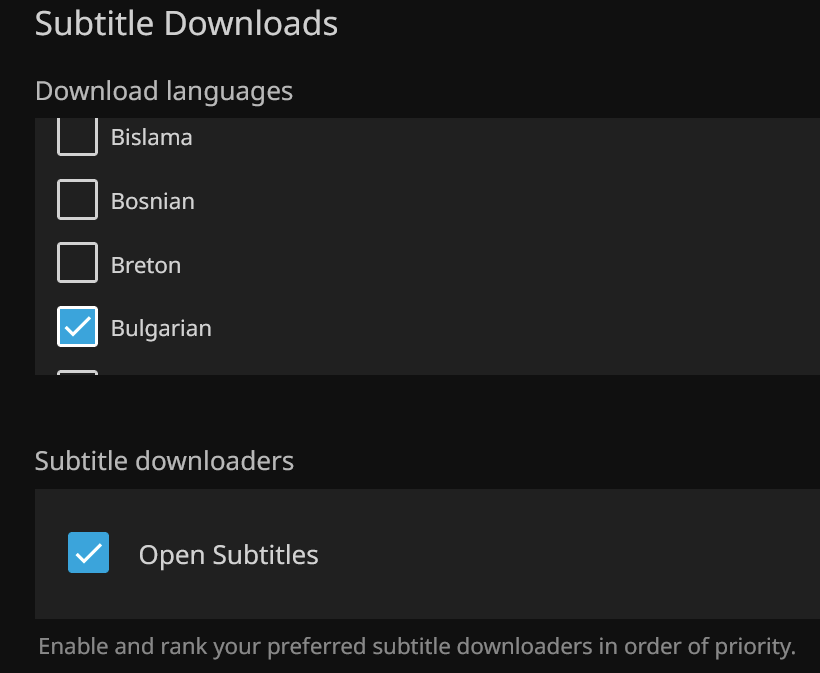
Now we need to configure our Library for what subtitles it should search for. From the Admin dashboard select Manage Libraries and scroll down to the Subtitle Downloads section. This is where we tell it in what languages should the subtitles be downloaded. You can uncheck Only download subtitles that are a perfect match for video files, if you want to increase the chance of finding subtitles. Click OK after you are done.
There is a scheduled task which runs every day and search for subtitles. You can force it from the Scheduled Tasks section
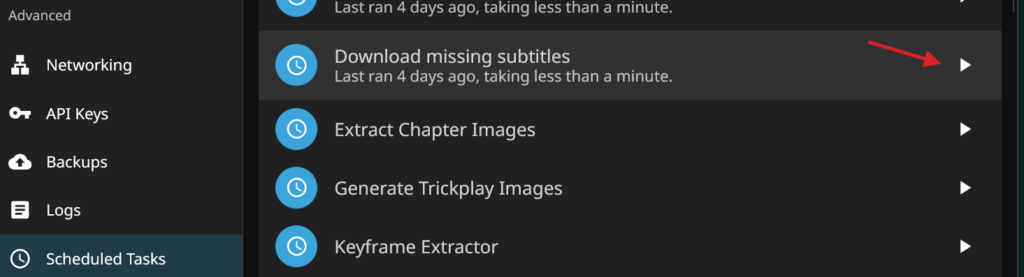
You should now be able to see the new subtitles automatically downloaded.
Interesting Media Library settings
Apart from the Subtitle languages, there are also a couple of notable Media Library settings (Manage Library in the Admin dashboard), which i would like to point out.
- Automatically add to collection – When enabled, if at least 2 movies have the same collection name, they will be automatically added to the collection
- Metadata savers – saves the metadata of the movie in a NFO file in the movie folder. Otherwise it is only in Jellyfin DB
- Save artwork into media folders – Saving artwork into the movie folders will put all images in the same folder as the movie, otherwise they are saved in the Jellyfin config folder and are harder to find.
- Only download subtitles that are a perfect match for video files – if there are no subtitles found for your movie, try removing this, as it limits subtitle search to only be a perfect match.
- Skip if the default audio track matches the download language – if you don’t want for example English subtitles for movies with English audio, you have to Enable it
This way you can have subtitles, NFO file, movie and the images all in one folder.
I personally do not use Trickplay or Chapter images, as i think it will generate a lot of additional HDD space occupation and will need a lot of resources to generate them, so it might have a big impact when loading new movies and cause huge delays.
Backup
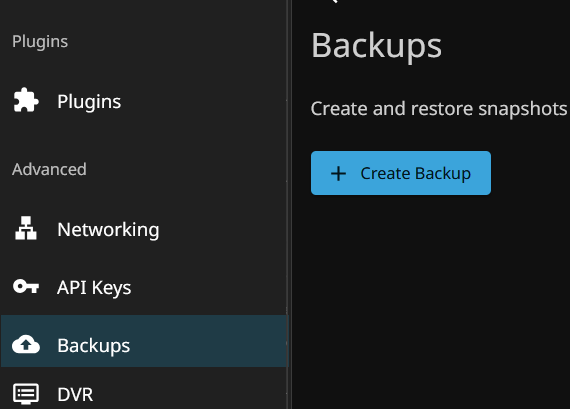
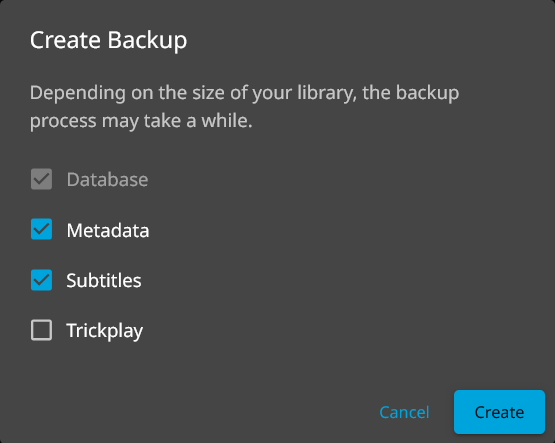
It is a good idea to perform a backup after you start loading more movies. At the moment this is a manual process, so there is no automated backup option. To create a backup go in the Administration Dashboard -> Backups and click Create Backup. This will create the backup in the docker folder /config/data/backups/, but the path is relative to the volume of the docker we specified in the docker-compose.yml during installation, so the full path in our case on the linux server is /opt/docker/jellyfin/config/data/backups
Hardware Acceleration / Video Transcoding (Optional)
This step is optional and i advise to avoid id, unless you have performance issue and have an integrated or dedicated GPU available in your server system. When a movie is in a format, which is not supported by the client (the tool/browser you use to watch it on), the Jellyfin server attempts to negotiate a suitable codec and change it to a compatible format on the fly, while streaming. That process can be very CPU intensive, so the idea is that Jellyfin can offload on the fly video transcoding by utilizing an integrated or discrete graphics card to accelerate this workload without straining your CPU. This is optional, but if you have a lot of clients at the same time, might be needed. You can see the full documentation here to find the proper method for your hardware. In our case we will use the intel integrated graphics, as we do not have any other.
#Lets check what is the integrated graphics device called with this command
ls -l /dev/dri
#Check the ID of the render group - in our case 992
getent group render
#If you are using a non-root user for the docker, you need to add it to the render group
#sudo usermod -aG render jellyfin

In our case this is renderD128 and the group id is 992. We will need this information to modify our /opt/docker/jellyfin/docker-compose.yml file to pass this device to the docker container, where jellyfin is installed.
cd /opt/docker/jellyfin
sudo vi docker-compose.yml
#add the following lines as shown in the picture below
 devices:
      - /dev/dri/renderD128:/dev/dri/renderD128
 group_add:
      - "992" #Change this to match the id of your render group
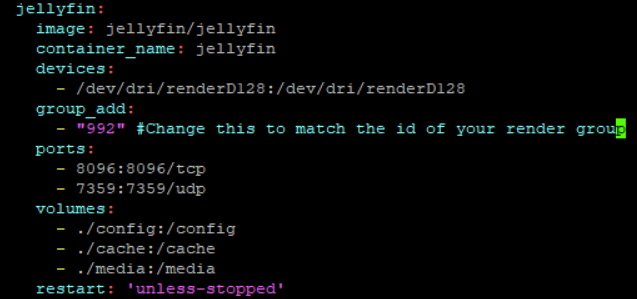
#Now we have to rebuild the container with the new configuration
#Make sure your terminal is in the folder with the docker-compose file when running it
sudo docker compose down
sudo docker compose up -d
Now you need to configure Jellyfin to start using the Intel integrated GPU device we just enabled for the docker for transcoding.
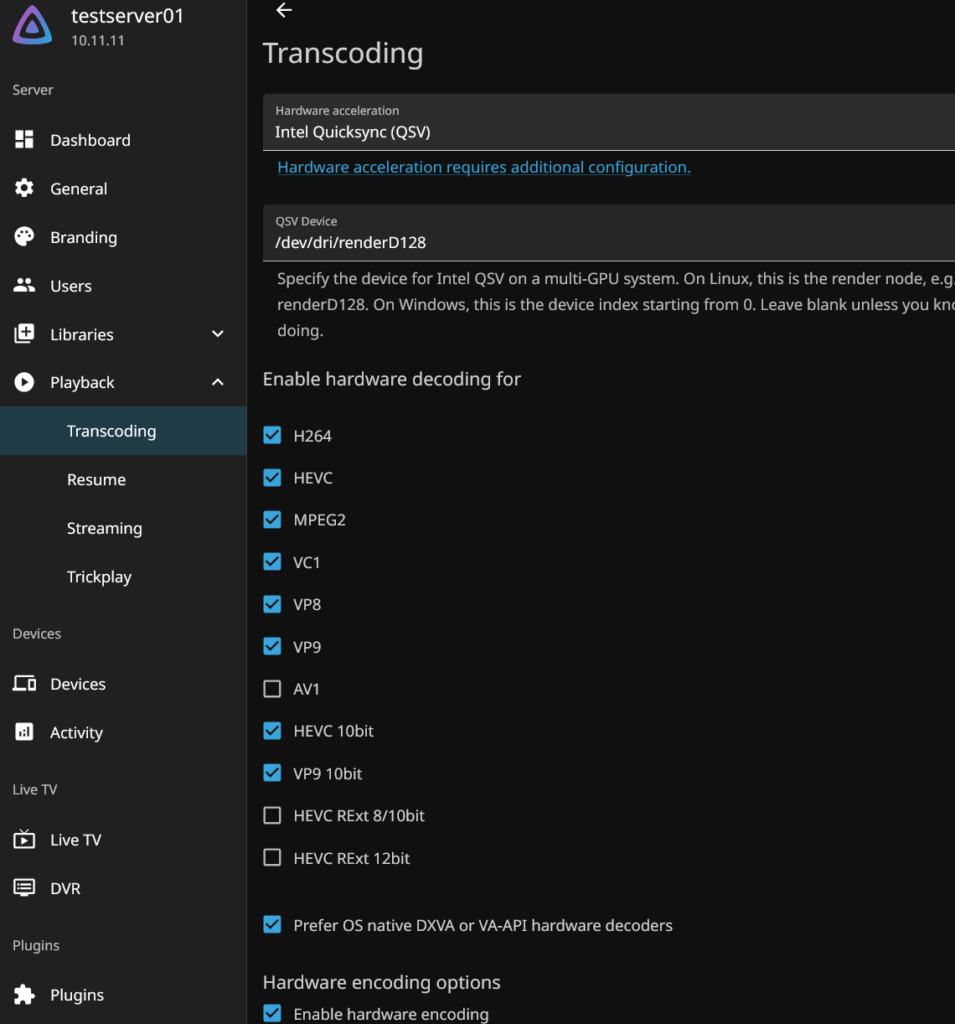
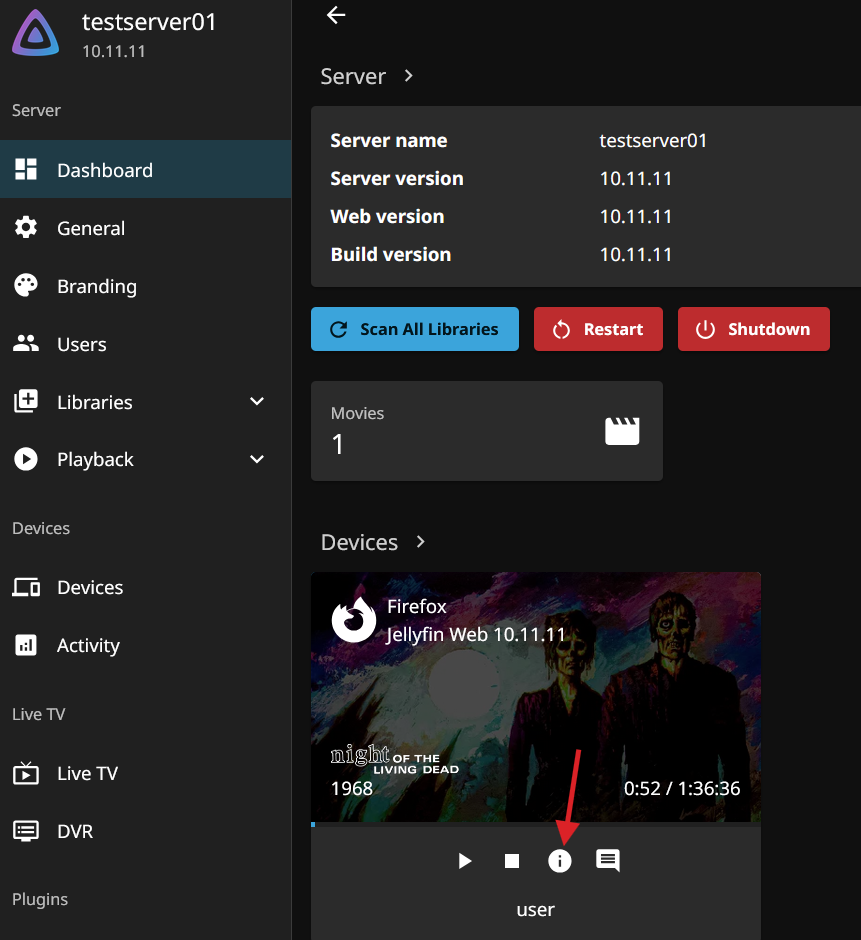
Test it out with playing a video that is requiring transcoding. If you have issue, disable it by returning the Hardware Acceleration to None. You can see if a video is trancoding in the Administration Dashboard, while the video is playing with the Info icon
Conclusion
I know this is a long post, but i wanted to keep it all together. Most of the topics here, starting from the Automatic search for subtitles, go beyond the basic usage, so if you are able to upload a movie with manually added subtitles and stream it to a device from the browser client (the main Web UI) that is more than enough! Keep in mind that everything we did is at the moment only accessible if you are at home – so you can watch movies from your Android TV, laptop, phone or any other of the supported clients, only when connected to the same network as the server.
To be able to watch movies while not at home (without doing some crazy complicated things) i will publish a post how to use Tailscale to make your server available from everywhere securely for your personal devices, without opening it to the public internet.