Jellyfin is a free, open-source media server that lets you stream your movie library and TV shows to any device — without subscriptions, tracking, or licensing fees. Think of it as your own private Netflix. In this guide, I’ll walk you through getting it running with docker compose (read the Prerequisites for instructions how to install docker and docker compose), configuring it for first use, and applying the advanced tweaks that take it from “working” to “great.”
Installation
I keep all my docker configurations and data in /opt, so lets prepare the folder structure. Open a Terminal and copy the instructions
#Navigate/opt
cd /opt
#create folder docker (if not already existing) and navigate to it /opt/docker
sudo mkdir docker
cd docker
#create folder for Jellyfin and navigate to it /opt/docker/jellyfin
sudo mkdir jellyfin
cd jellyfin
#create docker-compose.yml configuration file in jellyfin folder
sudo vi docker-compose.yml
Now you need to paste the contents into the docker-compose.yml. Don’t forget to press i (for insert) and paste the contents to this file with Right click or Shift + Right click
#docker-compose.yml content for jellyfin
services:
  jellyfin:
    image: jellyfin/jellyfin
    container_name: jellyfin
    ports:
      - 8096:8096/tcp
      - 7359:7359/udp
    volumes:
      - ./config:/config
      - ./cache:/cache
      - ./media:/media
    restart: 'unless-stopped'
    # Optional - alternative address used for autodiscovery
    #environment:
    #  - JELLYFIN_PublishedServerUrl=http://example.com
    # Optional - may be necessary for docker healthcheck to pass if running in host network mode
    extra_hosts:
      - 'host.docker.internal:host-gateway'
To save the changes, first you need to exit the Insert Mode of the file press ESC and then :wq (for write and quit) and confirm with Enter
After the folders are created and docker-compose.yml files is edited, the file structure should look like this:
/opt/docker/jellyfin
├── docker-compose.yml
Now one final step that executes all the configurations, creates the volumes (folders in our case for cache, config and media inside the main /opt/docker/jellyfin) and install the application as docker container
cd /opt/docker/jellyfin
sudo docker compose up -d
After the download of the docker image completes and the docker application is running, there will be an initial delay of a couple of minutes for the web interface to appear. You can use the command netstat -ltn to check if the port 8096 is listening for connections on the server.
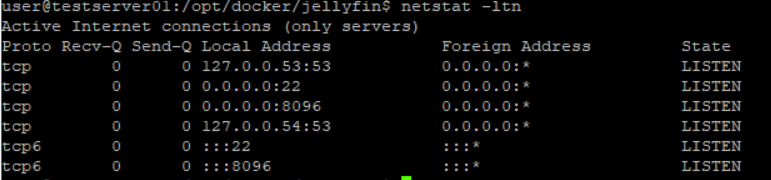
If you see the port 8096, you can test to open it in a web browser at: http://localhost:8096 from the same computer or using http://<machine-ip-address>:8096 (use command ip address to see your machine IP) from the same or any other computer at your home. If you are using a VM to test, make sure the network is not NAT, but bridged, so that it gets the IP from the same network as your home devices.
The Jellyfin logo and the setup wizard should be loaded and your installation is successful. Good job!
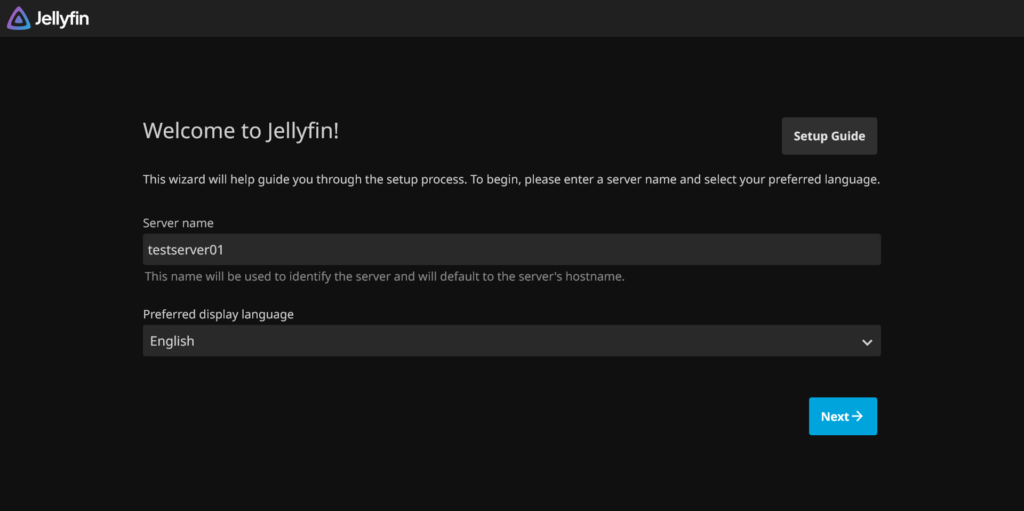
Тhe folder structure should look like this now:
/opt/docker/jellyfin/
├── cache
├── config
├── docker-compose.yml
└── media
I will guide you how to make the initial setup and to how start using it in the next article about How to use Jellyfin