My suggestion is to start using immich for your new photos only, until you get more familiar with the setup. After that you can either upload your previous photos or link them as external library, if you have them on the Ubuntu server (copied them over from a usb drive or downloaded them from the cloud)
First login, setup and basic usage
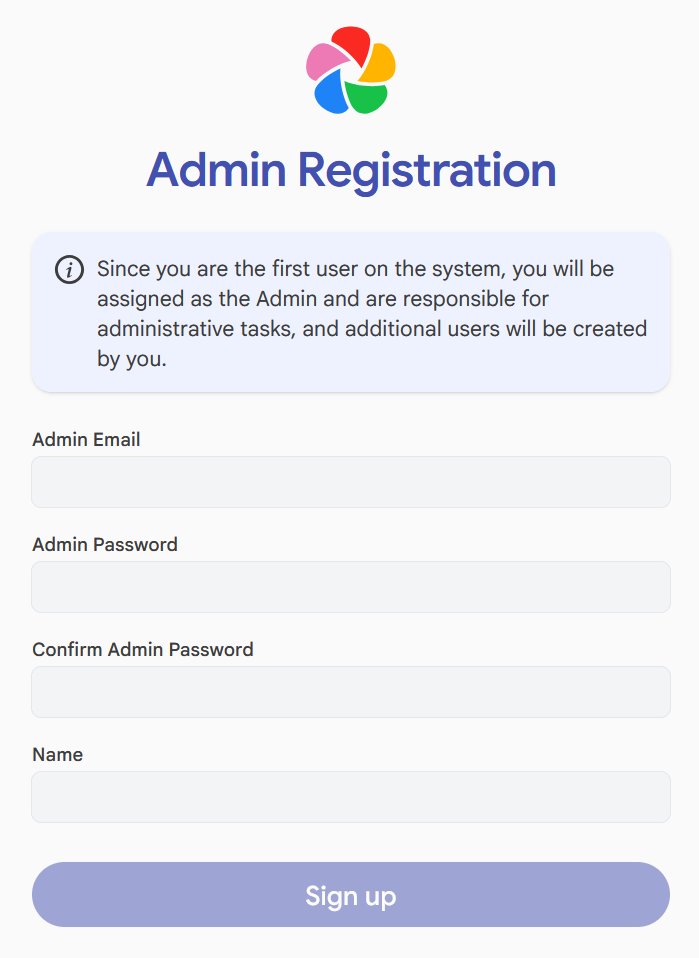
After the installation, the real usage begins. First we need to complete the Admin registration form as mentioned in the last article. The url is http://localhost:2283 from the same server, or using http://<machine-ip-address>:2283 (use command ip address to see your machine IP) from the same or any other computer at your home
Login to the system with the admin credentials you just created:
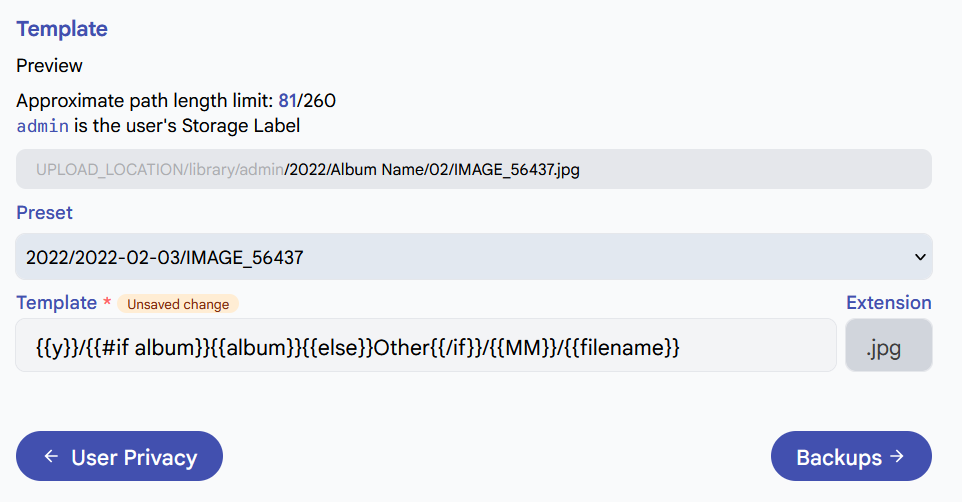
Select a Theme (Light or Dark), Language and leave Server Privacy and User Privacy as default. Important is to setup the Storage Template from the start (you could change it later, but still). This will allow you to define how immich will physically store the photos which you upload. The default folder structure is Year/Year-Month-Day/Filename.Extension. I suggest using this one instead: {{y}}/{{#if album}}{{album}}{{else}}Other{{/if}}/{{MM}}/{{filename}}. This will mean that if you create an album in immich, it will also reorganize the local folder structure to reflect the one in immich. Otherwise you will not see any album information in the photo library.
Enable the Storage Template Engine:

Define the template you want:
Continue to Backups. Nothing to do on that screen specifically, but it is important to note that immich does automatic database backup every night at 2am and keeps 14 previous backup. This backups the result of the machine learning, configured settings, photos and thumbnails paths and other metadata, but not the actual photos
This means your photos are not backed up. It is your responsibility to take care of that and i will show you in a future article how i do that automatically with borg. Always keep a backup of your photos and the database dump file on a separate physical disk or external usb drive once in a while
In an event of needed restore, you will need both the photos (library folder, without changes in the folder names or file names) and the database backup to be restored. Otherwise you will need to upload your photos again and wait for the machine learning analysis as with a brand new instance.
Download the mobile app on the last step or leave it for later. You should see not the main interface
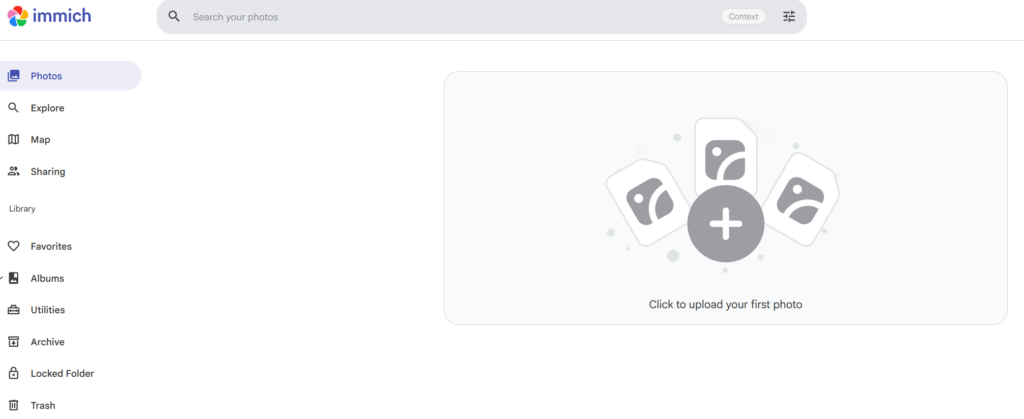
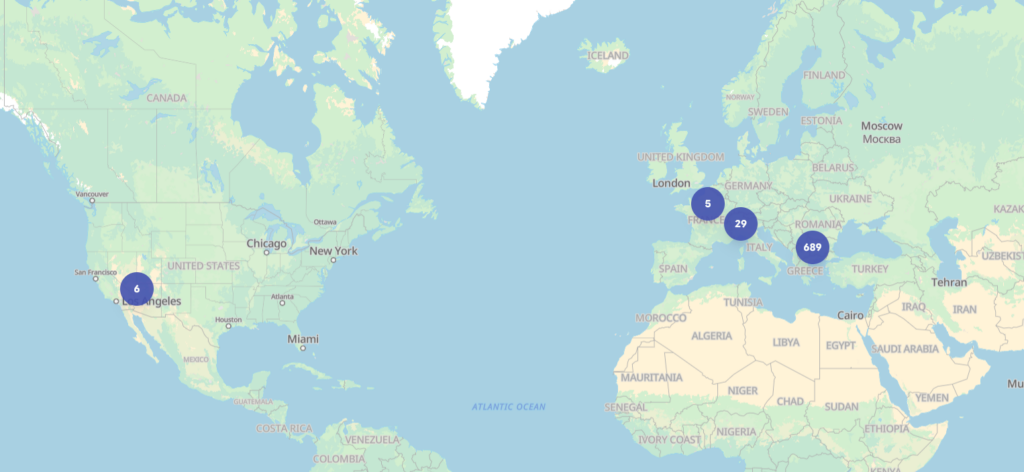
I am sure you will figure it out how to upload some test photos, so i will focus on the other interesting functions like the Map. In order to see the location of your photos, you can put locations manually on each photo, but it is best to enable Geo tagging on your Camera/Phone, so that each photo you take will have this metadata automatically embedded and it will be displayed on the Map, which is pretty cool!!! Here is an example how it might look like and if you zoom in it gets more precise locations
Connect your phone and start backing up photos and videos
This is quite an easy step, but before starting it, i would suggest to try to open immich web interface in the browser http://<machine-ip-address>:2283 (use command ip address to see your machine IP) from your Android or iOS phone. In my case the URL looks like this, but it will be different for you: http://192.168.100.150:2283. This will confirm if you can configure the mobile app to access it, as it uses the same URL. On Ubuntu firewall is deactivated by default, so there should not be any issues.
Download the immich mobile app from Google Play or App Store (the full documentation how to use it and what it can be found here). I will be doing it on an iPhone. After you install the immich app open it and you will see the screen, where you need to enter your http://<machine-ip-address>:2283 and your user credentials, that you created at the beginning


After that we need to click on the blue cloud icon next to our profile on the top left and select which Albums from the phone we want to be automatically backed up and enable the backup. Depending on your machine resources and the amounts of photos, this might take quite a while.
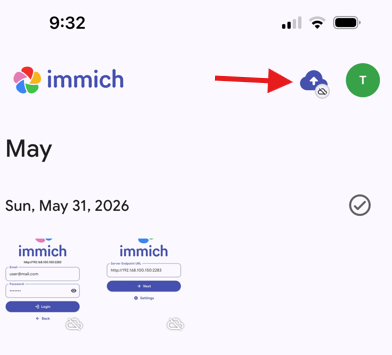
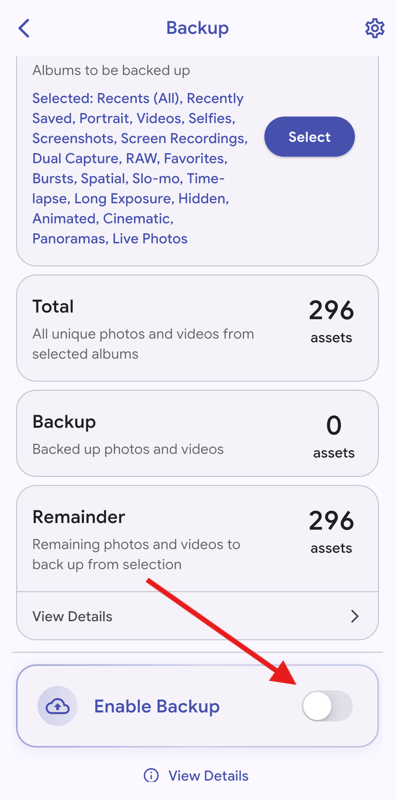
The immich app on the phone needs to be opened from time to time to sync new photos as it seems it can’t be running only in the background.
It is important to know that this will work only while you are connected to your home network! Everything we do at the moment is private and not exposed to the internet.
Load your existing photo library as external library, without re-uploading a copy of them
This method will allow you to see your old existing photos in immich app, without the need to upload them via the web browser. Immich will still need to analyze them and add them to its database, so it will still require a lot of initial processing, but it will not make a duplicate copy of the photos in its own library (in our case /opt/docker/immich/library)
We need to perform the following steps
- Make sure we have our old photos on the same server, where immich runs – you can copy them there with a usb drive/disk
- Mount the folder to immich docker container as Read Only, so that it can access the files and process them
- Change immich settings to point it to this folder and tell it to process them
I am sure you will be able to complete the first step, so i will proceed to the second. Lets assume we copied our old photo archive to this folder on our Ubuntu server – /opt/docker/immich/photoarchive. We will need to allow the immich docker container to access it. This is done in the docker-compose.yml file we downloaded in the initial installation
#Open the configuration file
sudo vi /opt/docker/immich/docker-compose.yml
#if you open it without sudo, it will be read-only and you can't change it
When it is open, press i (for Insert) to be able to edit the text and add this line under volumes section (assuming you copied your photos here /opt/docker/immich/photoarchive): /opt/docker/immich/photoarchive:/usr/src/app/photoarchive:ro
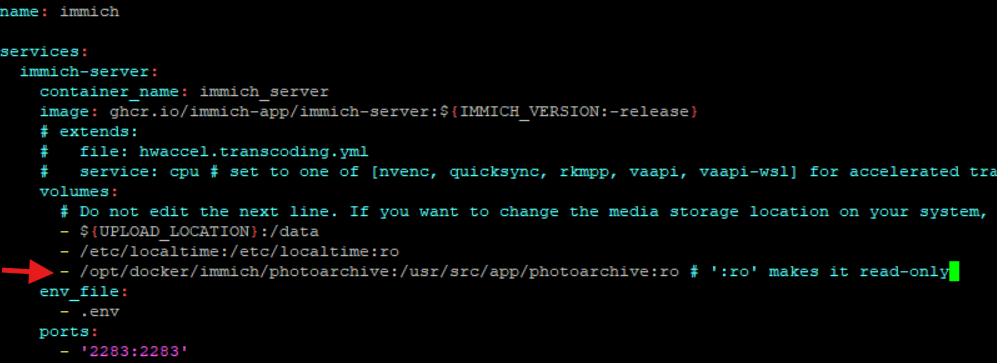
This enabled the immich docker container to access the photos in /opt/docker/immich/photoarchive on the server machine via the path /usr/src/app/photoarchive in the docker container. immich will recognize only this path (/usr/src/app/photoarchive), so we will use it when we configure it where to look for for our external library (thats what immich calls it, as it is external for the app and not in its default folder structure). For the changes to take effect, we need to bring down the containers and up again
#while you are in the same folder as the docker-compose.yml
sudo docker compose down
sudo docker compose up -d
Now we need to go to the Administration -> External libraries from the web UI and tell immich where our photos are (/usr/src/app/photoarchive)
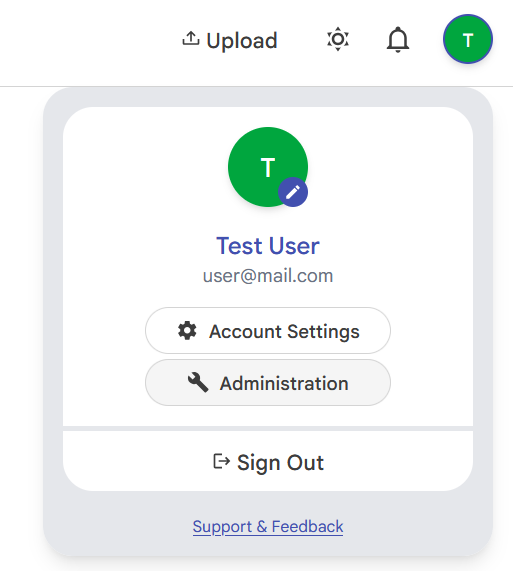

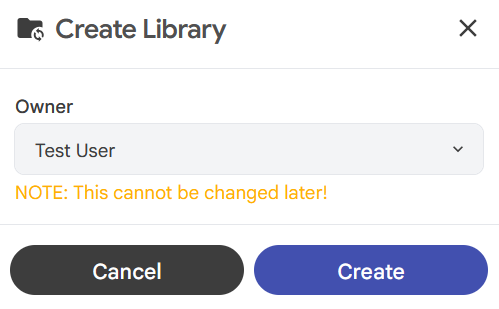
Select for which user (if you have more than 1) this library is for and create it. Add a the folder we mapped in the docker compose file and Scan it
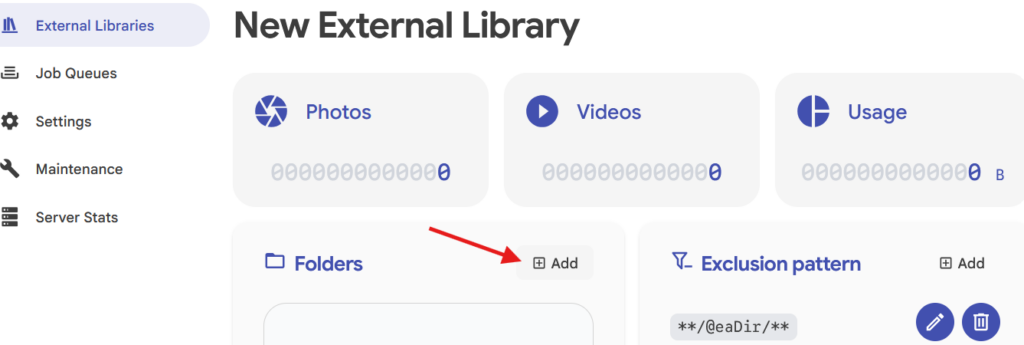
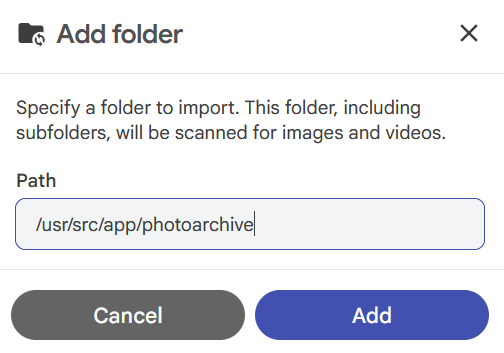
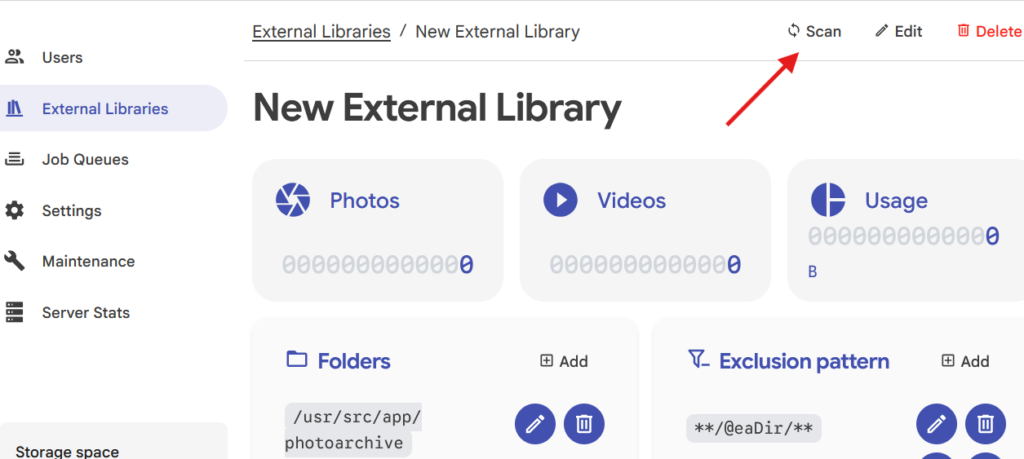
You should be able to see the number of photos it found after some time, again depending on the volume might take more time, and they will be available for you to browse in the main photos sections

Administration
To see more Admin settings, where you can create users for your family and change some configurations (not that it is needed), you click on your profile on the top right and then on Administration. Feel free to click around, but i will show you only the ones i think you will need.
You can add users and set a storage quota (how much GB can they use) from Users

You can configure when you want the database dump to happen and how many previous to keep. It will save them to your configured library folder and if you followed my guide it will be in /opt/docker/immich/library/backups
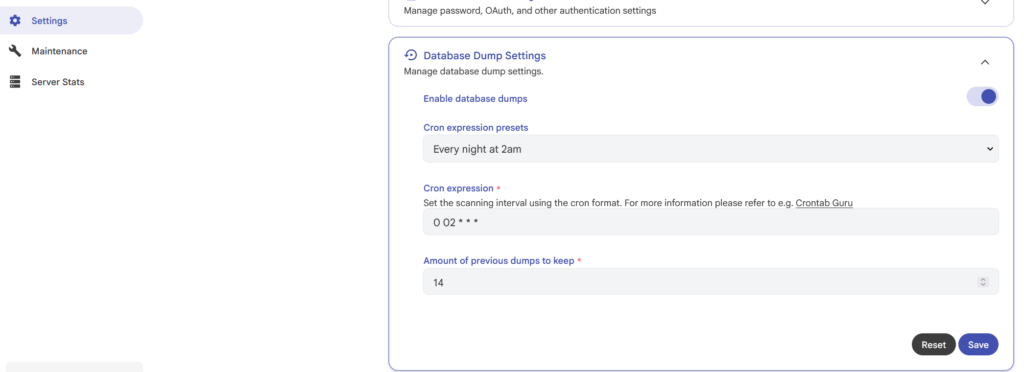
If you need to restore your database, this is where you can do it
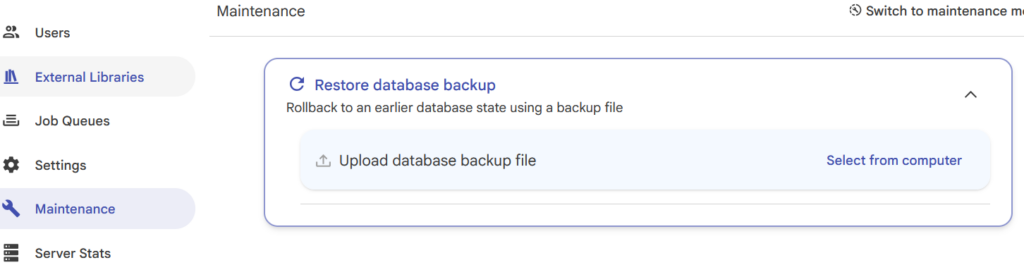
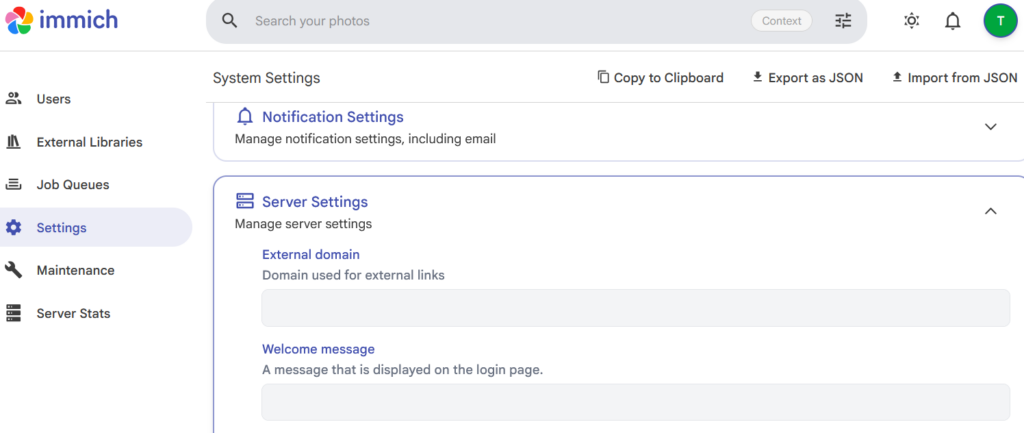
If you ever decide that you like it so much and want it to be publicly accessible, so that many people can use it and for you to freely share your photos with whoever you like (which requires some advanced knowledge and owning a public domain (which is paid every year) and we will not cover it now), you will need to adjust this setting for External domain to let immich know what shareable links to generate:
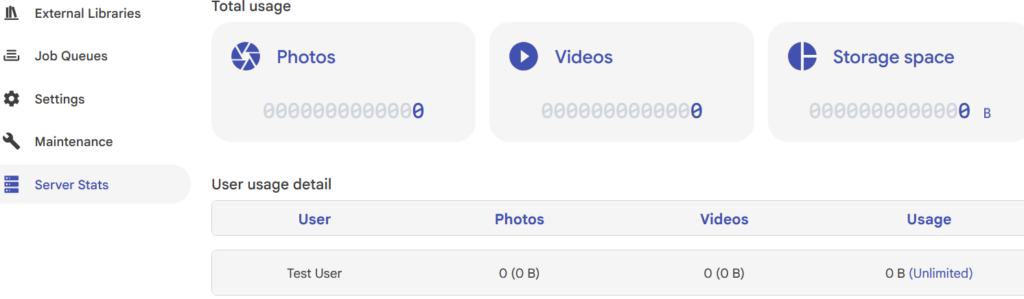
You can also see your server stats here
Conclusion
Immich is a powerful self-hosted photo management solution that combines modern features with full control over your data. While the setup requires some initial effort, the result is a secure and cost-effective platform that keeps your media private and accessible. For anyone building a self-hosted stack, Immich is a strong and practical choice.
To make the most of this tool (and any other self-hosted applications) i strongly recommend making it available from everywhere using Tailscale, as otherwise you are limiting the usability to your own house / network.